
HD Heritage Wheel Bearings.
Following are a few pictures of installing Heritage wheel bearings.
Recently I was able to buy a 2002 Harley Softail Heritage Classic.
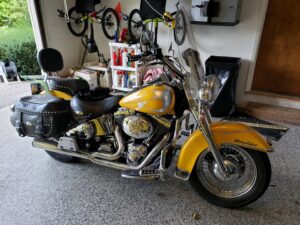
One thing I have always disliked on my motorcycles is spoke wheels. Too many parts to loosen up and hard to keep clean. Anyway, after a search on Facebook and craigslist I was able to buy a pair of solid wheels off a 2002 Harley Fat Boy.
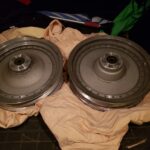
But before I install new tires (thinking wide white walls) and installing them on the Heritage, I wanted to install new wheel bearings.
I ordered four new bearings and a bearing puller/installer from MaXpeedingrods.com This is a very nice tool for the money. It comes with everything you need to remove and install the bearings (besides the wrench’s). One thing that did bother me a bit, was mixing the SAE and metric sized bolts. Although it seems like almost every motorcycle or car mixes SAE and metric sizes too.

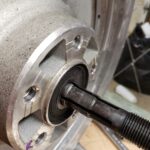
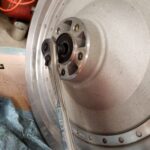
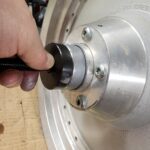
Next was the process of removing the old bearings. Read the instructions first! The removal tool is a hollow bolt that slips into the inside of the bearing and then has a tapered bolt put inside to expand the tool to catch on the inside edge of the bearing. The kit comes with three different size tools. One for the 3/4 inch axle, 1 inch and 25 mm. The 2002 is the 3/4 inch axle. I coated all the threaded parts with oil (and the tapered expansion bolt) before starting, as stated in the instructions.
 \
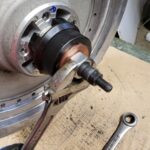
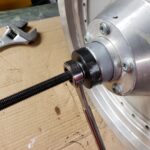
\After installing the “cage” on the outside of the wheel, tightening up the wedge to catch the bearing. Then tightening the large nut to pull the bearing out of the wheel. Notice the ratchet, which had a short extension with a hex driver to hold the center wedge bolt to keep the assembly from moving. Just a matter of muscle power to pull the bearings. Repeat on the other side. I did drop the puller inside the hollow portion of the wheel. Don’t do that, it was a PIA to get it back out.

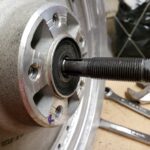
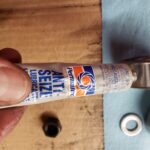
After I cleaned the bears races Inserted the installation tool started the install. Make sure and apply anti seize lubricant to the bearing surfaces inside and out to make it a bit easier next time you try this.
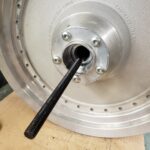
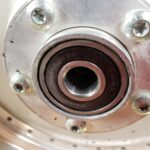
Finished installation.